Father-in-Law Scarf
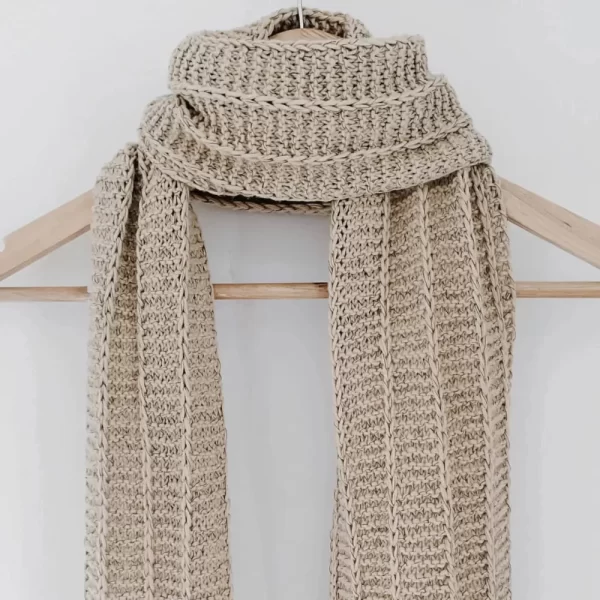
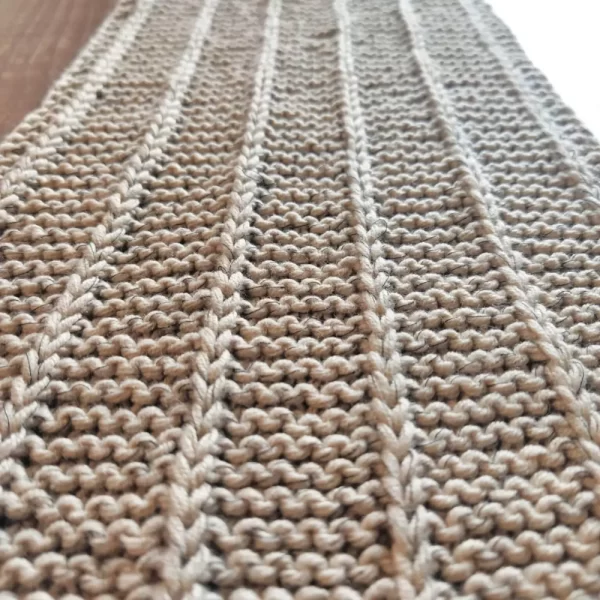
A simple twist on the classic garter stitch scarf. The textured design of the father-in-law scarf suits both men and women, making it the perfect holiday gift.
Ever since I was young, maybe 12 years old, knitting projects have been my go-to gifts.
For close friends and family, I enjoy hand-selecting yarn and customizing patterns to match their personality. This makes the holiday season especially fun (and busy) because I always have a long list of exciting projects to work on. By this point I know everyone’s hat, glove, sock, and sweater sizes by heart.
And when I want to knit a gift for someone I don’t know very well? Scarves are my go-to. I aim for simple, classy stitch patterns paired with colors that I’ve already seem them wear, which is exactly how I designed the Father-in-law scarf.
What you’ll need:
- 4-5 balls of Cotton 100% yarn from Katia Yarns. I used Color 12 (Tan)
- Black sewing thread
- 3.5mm straight knitting needles
- Darning needle for weaving in ends
Abbreviations:
- CO: Cast on (we used the classic long-tail cast on)
- k: knit
- Sl1wyif: slip 1 stitch purlwise with yarn held in front
Gauge:
- 23 stitches = 10cm in garter stitch on 3.5mm needles.
Sizes:
- This pattern is one-size. The scarf measure approximately 18cm wide, and can be knit to any length.
Notes:
- I find cotton yarn to be a bit heavy, leading to overly-stretched garments. So I added a single strand of black sewing thread. The sewing thread stops excessive stretching while also adding a nice visual effect.
What you’ll need:
- 4-5 balls of Cotton 100% yarn from Katia Yarns. I used Color 12 (Tan)
- Black sewing thread
- US size 4 straight knitting needles
- Darning needle for weaving in ends
Abbreviations:
- CO: Cast on (we used the classic long-tail cast on)
- k: knit
- Sl1wyif: slip 1 stitch purlwise with yarn held in front
Gauge:
- 23 stitches = 4in in garter stitch on US size 4 needles.
Size:
- This pattern is one-size. The scarf measure approximately 7 inches wide, and can be knit to any length.
Notes:
- I find cotton yarn to be a bit heavy, leading to overly-stretched garments. So I added a single strand of black sewing thread. The sewing thread stops excessive stretching while also adding a nice visual effect.
Chart:
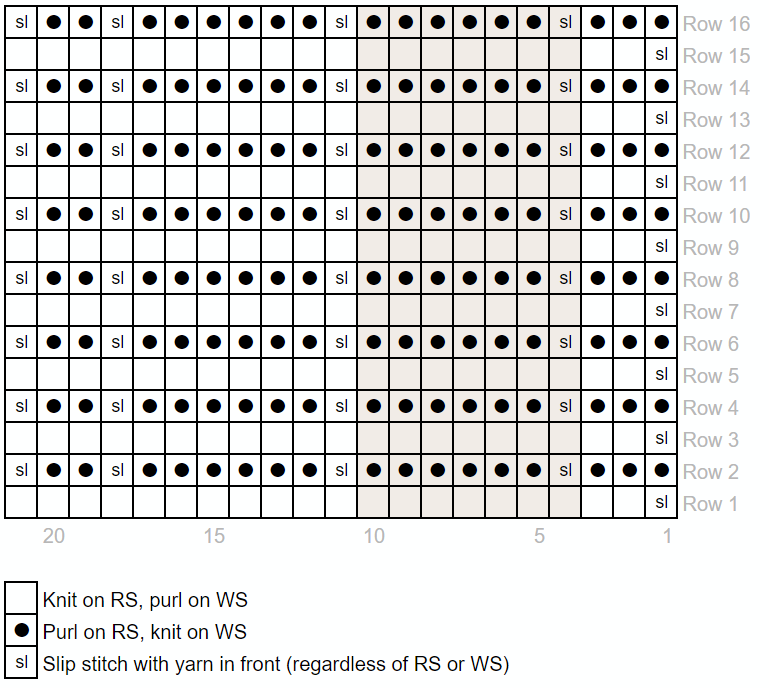
I get a lot of questions about the knitting chart below. Please note the purls are on the WS rows, meaning they’re actually knit stitches. When in doubt, refer to the written pattern instructions or read through our article: How to Read Knitting Charts
Instructions
Holding the yarn and sewing thread together, CO 42 stitches.
Knit 2 rows, then continue to Row 1.
Row 1 (rs): Sl1wyif, k to end
Row 2 (ws): Sl1wyif, k2, (sl1wyif, k6)x5, sl1wyif, k3
Repeat rows 1 and 2 until scarf reaches desired length.
Knit 2 rows to finish the border, then cast off.
Finishing
Weave in any loose ends and block to finish.
Want FREE knitting patterns?
Subscribers get FREE access to newly-released patterns.

I really like this pattern! Can you please tell me the yarn weight? I can’t find it. Thanks!
Hi Judy,
It’s DK yarn (light worsted, N°3).
Though I’m sure this pattern would work with worsted weight too. It’s very versatile.
Let me know how it turns out!
What length was the sample in the image knitted to?
Hi Orlagh,
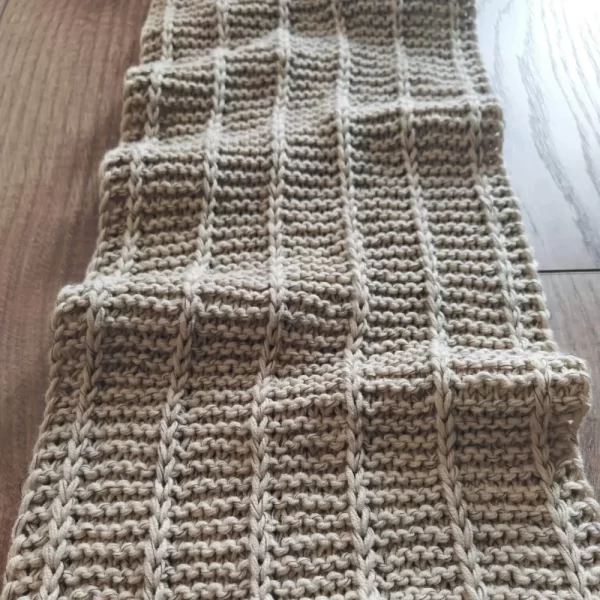
The scarf in the picture measures approximately 70 inches (178cm). However, you might want to adjust the length depending on the person that will wear the scarf. In general, I recommend 60-70 inches (152-178cm) for a men’s scarf or 50-60 inches (127-152cm) for a women’s scarf.
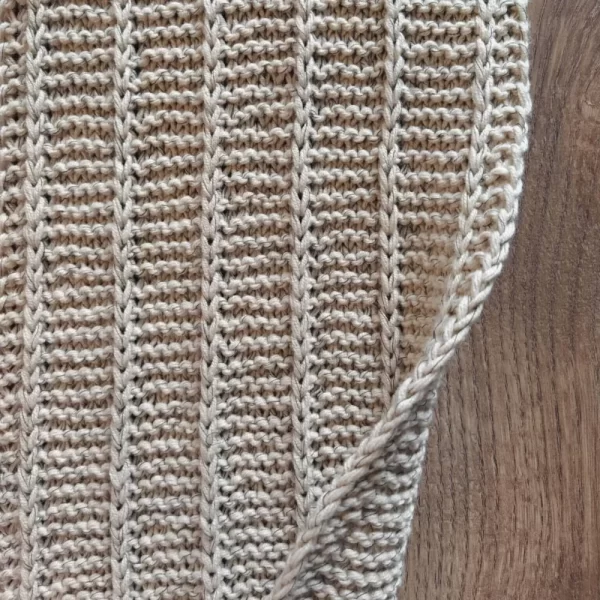
Your written instructions contradict the knit pattern. In the pattern, each sl is yarn forward. In the written instructions, only the stripes are yarn forward and the edges are yarn back. When following the instructions, my edges come out wrong, not looking like the normal stripes. Please fix the written instructions so they line up with the pattern and produce an edge that looks like your pictures.
Otherwise, nice pattern. Thank you!
Hi Hana,
Thank you so much for taking the time to comment. After knitting a quick swatch, I can confirm the knitting chart is correct and the slipped stitches should always be done with yarn forward (including the slipped stitch at the start of each row).
I’ve corrected to written instructions to match. Thanks again, I never would have noticed if you didn’t mention it!
I’m starting this work as directed, but prefer a wider scarf. Do I simply double the number of CO stitches to 84 and follow the pattern as written or is there a number difference to allow it to be twice as wide?
Hi Josh,
Yes, you can double the stitches without making any other adjustments to the pattern. In fact, any multiple of 7 stitches will work. Enjoy!