

Brioche Stitch (knit flat)
Brioche knitting isn’t as intimidating as it seems. It’s actually quite simple to learn, especially when knitting flat.
After learning just 2 special stitches, you’ll be ready to knit the brioche stitch.
Brioche stitch, characterized by slipped stitches and a ribbed appearance, produces a thick yet airy fabric. This stitch is perfectly reversible, and you’ll find it used in everything from basic scarves to more complex sweaters. However due to it’s stretchy nature, you’ll rarely find it used in tight-fitting garments such as socks.
Pros of Brioche stitch:
- The texture is gorgeous
- The slipped stitches create a thick, squishy, ultra-stretchy fabric
- A good option if you want the ribbed look without the elasticity
Cons of Brioche stitch:
- Feels a little slow to knit due to all the slipped stitches
- Requires strong knowledge of knitting foundations (knit, purl, slip)
- If you make a mistake, troubleshooting can be tricky
Special Notes:
- When knitting this stitch, you won’t see the pattern immediately. While most stitches reveal their pattern after 2-3 repetitions, with brioche you’ll likely need 5-6 repeats before the pattern will emerge.
- This stitch tends to knit a little loose. We recommend choosing needles one size smaller than recommended for your yarn.
Abbreviations:
- k: knit
- p: purl
- sl1wyif: slip 1 stitch purlwise with yarn in front
- sl1yo: bring the working yarn to the front, slip 1 stitch purlwise, then bring the yarn over the needle to the back. This creates a slipped stitch with a YO lying directly on top of it.
- brk (brioche knit): the stitch you’re about to knit should have a YO laying on top of it. Knit the stitch and the YO together.
Instructions for knitting Brioche Stitch:
Knitting Flat:
Cast on an even number of stitches
Setup Row 1: *k1, p1, repeat from * to end of row
Setup Row 2: k1, *sl1yo, k1, repeat from * to last stitch, slwyif
After completing these setup rows, continue to the pattern rows below.
Row 1: k1, *sl1yo, brk, repeat from * last stitch, sl1wyif
Row 2: repeat row 1
Repeat rows 1 and 2 until desired length is reached
Finishing row: switch back to 1×1 rib for the final row, then bind off
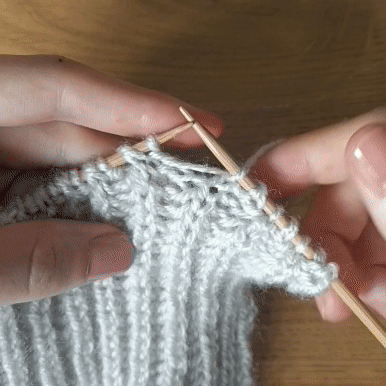
Chart:
*** If you’re not familiar with brioche stitch, we recommend following the written instructions before trying to follow the chart***
Although this stitch is reversible, we differentiate between RS and WS in the chart. This is to done to clarify that the brp stitches are knit on the wrong side, meaning they are actually brk stitches.

Want FREE knitting patterns?
Subscribers get FREE access to newly-released patterns.
Thank you for the easy to follow instructions and VIDEO demo. As a beginner, I appreciate not having to find the Brioche stitch on ytube first.