


Rusk Beanie
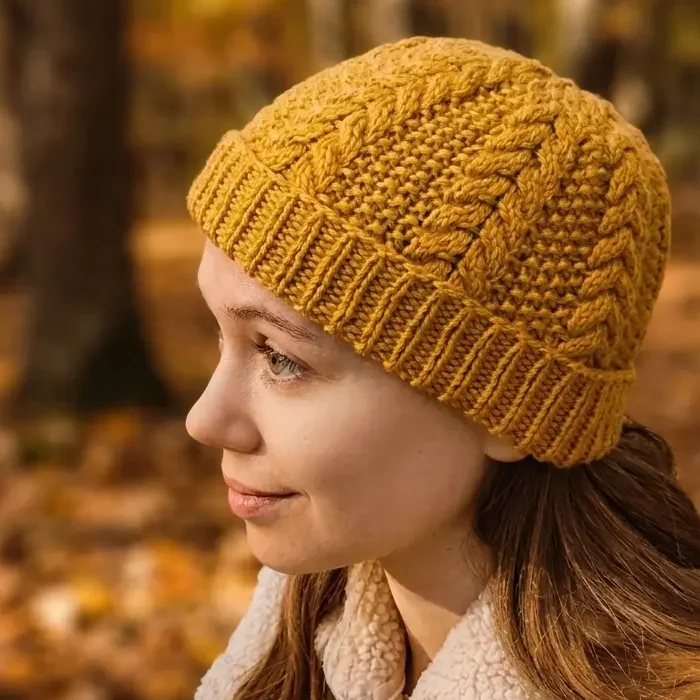
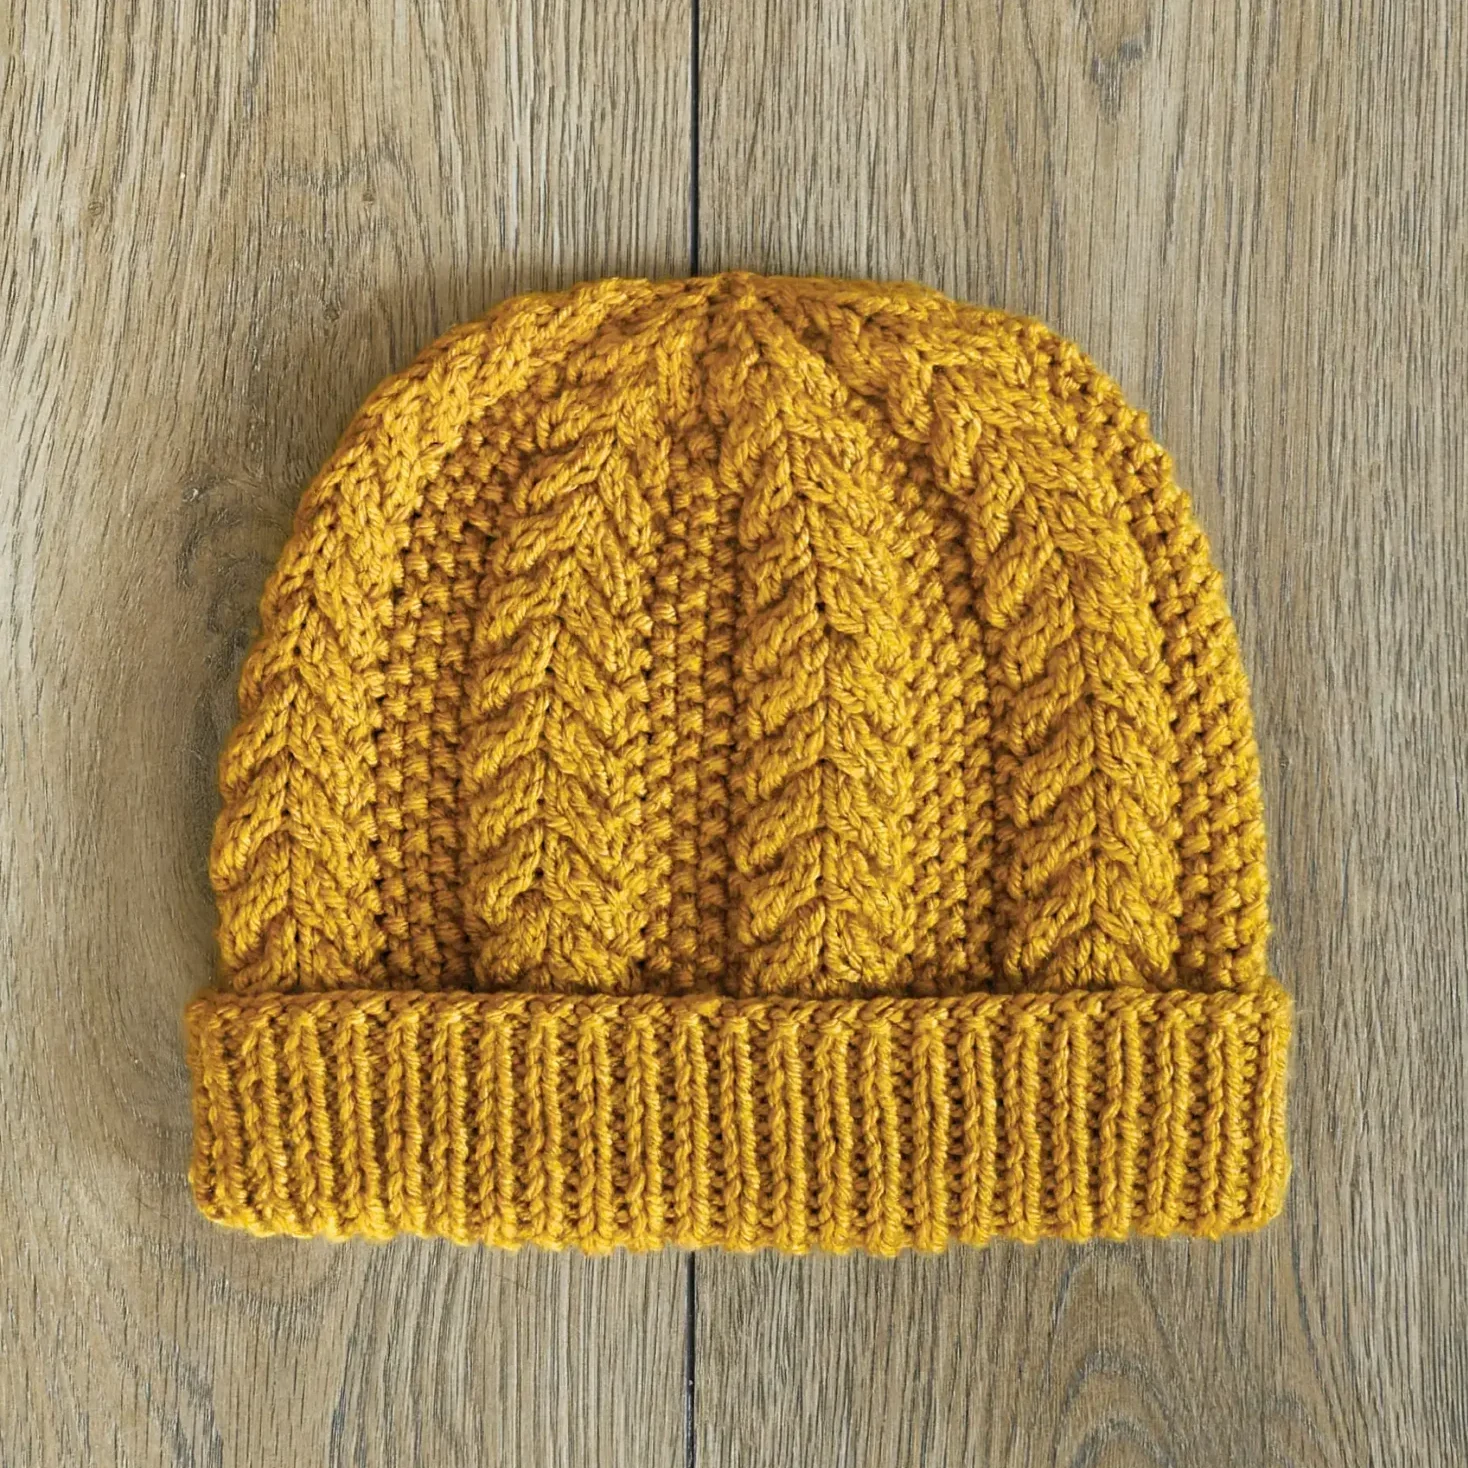
The Rusk Beanie puts a fresh twist on classic knitting techniques. Combining upward-winding cables and seed stitch columns creates a wonderfully textured and cozy hat.
Disclaimer: This post may contain affiliate links. If you click one, we may receive a small commission at no cost to you. Thank you.
Fall is the season of cables. Nothing will keep you warmer and cozier than the extra thickness and stretch cables provide to your knitting projects.
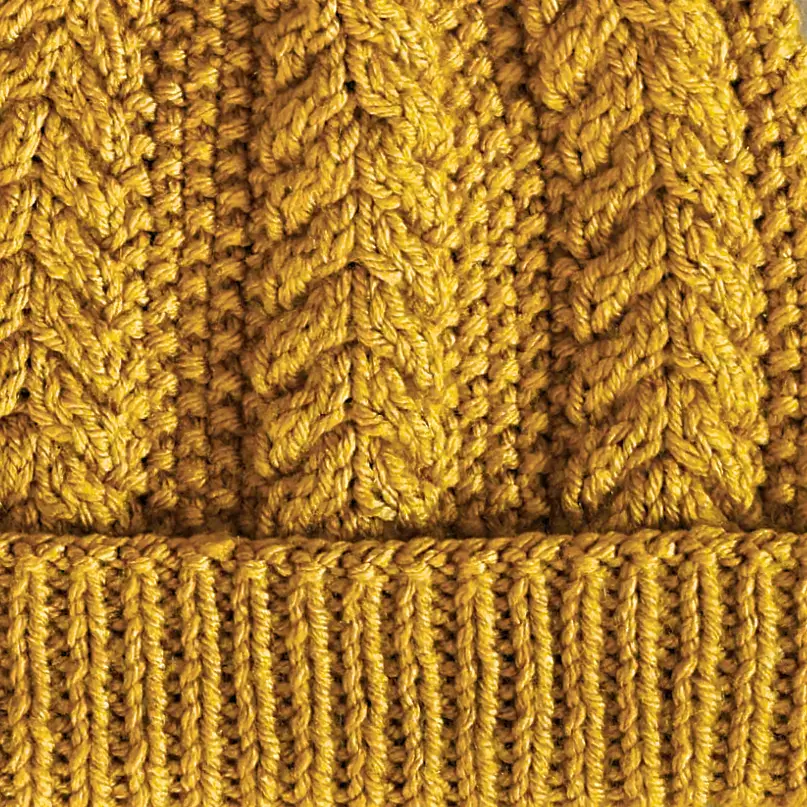
The Rusk Beanie features pairs of cables that create the illusion of an upward-twisting column, separated by sections of seed stitch for extra texture. This pairing creates a hat with an intricate yet timeless vibe.
The yarn I used to create the Rusk Beanie is available at Michaels, but any worsted weight yarn should do. I just recommend checking your gauge before beginning!
What you’ll need:
- 1 skein of Big Twist Living yarn in color Mustard
- 3.5mm needles (straight or 40cm circulars)
- 4.0mm needles (straight or 40cm circulars plus dpns)
- Cable needle
- Darning needle for seaming/weaving in ends
Abbreviations:
- CO: Cast on (I used the classic long-tail cast on).
- k: knit.
- p: purl.
- sl1wyif: slip 1 stitch (purlwise) with yarn held in front.
- m1: make 1 stitch using whichever method you prefer. This will be hidden by the folded brim (1 stitch increased).
- c4f: slip 2 stitches onto a cable needle and hold in front of work. Knit the following 2 stitches, then knit the stitches off the cable needle.
- c4b: slip 2 stitches onto a cable needle and hold behind your work. Knit the following 2 stitches, then knit the stitches off the cable needle.
- c3fdec: slip 2 stitches onto a cable needle and hold in front of your work. Knit the following stitch, then return to the cable needle and k2tog the stitches (1 stitch decreased).
- c3bdec: slip 1 stitch onto a cable needle and hold behind your work. ssk the two following stitches, then knit the stitch from the cable needle (1 stitch decreased).
- k2tog: knit 2 stitches together (1 stitch decreased).
- ssk: slip 1 stitch knitwise, slip another stitch knitwise, then knit those two stitches together from the righthand needle.
- p2tog: purl 2 stitches together (1 stitch decreased).
- cdd: center double decrease. Slip the next 2 stitches as if to k2tog. Slip 1 more stitch knitwise, then knit these 3 stitches together from the righthand needle (2 stitches decreased).
Gauge:
- 18 stitches = 10cm in pattern on 4.0mm needles (when stretched as worn). See chart for pattern.
Sizes:
- This pattern is available in 2 sizes: Adult Small [Adult Medium/Large].
- Adult S fits heads up to 57cm in diameter.
- Adult M/L is recommended for heads 57cm+ in diameter.
Notes:
- This pattern can be knit flat or in the round.
What you’ll need:
- 1 skein of Big Twist Living yarn in color Mustard
- US Size 4 needles (straight or 16 inch circulars)
- US Size 6 needles (straight or 16 inch circulars plus dpns)
- Cable needle
- Darning needle for seaming/weaving in ends
Abbreviations:
- CO: Cast on (I used the classic long-tail cast on).
- k: knit.
- p: purl.
- sl1wyif: slip 1 stitch (purlwise) with yarn held in front.
- m1: make 1 stitch using whichever method you prefer. This will be hidden by the folded brim (1 stitch increased).
- c4f: slip 2 stitches onto a cable needle and hold in front of work. Knit the following 2 stitches, then knit the stitches off the cable needle.
- c4b: slip 2 stitches onto a cable needle and hold behind your work. Knit the following 2 stitches, then knit the stitches off the cable needle.
- c3fdec: slip 2 stitches onto a cable needle and hold in front of your work. Knit the following stitch, then return to the cable needle and k2tog the stitches (1 stitch decreased).
- c3bdec: slip 1 stitch onto a cable needle and hold behind your work. ssk the two following stitches, then knit the stitch from the cable needle (1 stitch decreased).
- k2tog: knit 2 stitches together (1 stitch decreased).
- ssk: slip 1 stitch knitwise, slip another stitch knitwise, then knit those two stitches together from the righthand needle.
- p2tog: purl 2 stitches together (1 stitch decreased).
- cdd: center double decrease. Slip the next 2 stitches as if to k2tog. Slip 1 more stitch knitwise, then knit these 3 stitches together from the righthand needle (2 stitches decreased).
Gauge:
- 18 stitches = 4 inches in pattern on US Size 6 needles (when stretched as worn). See chart for pattern.
Size:
- This pattern is available in 2 sizes: Adult Small [Adult Medium/Large].
- Adult S fits heads under 22 ½ inches in diameter.
- Adult M/L is recommended for heads over 22 ½ inches in diameter.
Notes:
- This pattern can be knit flat or in the round.
Chart:
Important note: this chart only shows the stitch pattern featured on the body of the hat. It does not account for whether the pattern is knit flat or in the round. For exact instructions, follow the written patterns below.

Instructions for Knitting Flat
Brim
With smaller needles CO 98 [110] stitches.
Ribbing row: sl1wyif, k1, *p1, k1, repeat from * to end of row.
Repeat the ribbing row (on RS and WS) until work measures 6 [7]cm from cast on edge.
Transition row: sl1wyif, *(k1, p1)x6, m1, repeat from * to last stitch, k1 — 106 [119] stitches.
Pattern section
Switch to larger needles.
Row 1 (RS): sl1wyif, *k9, p1, k1, p1, k1, repeat from * to last stitch, k1.
Row 2 (WS): sl1wyif, *(k1, p1)x3, p7, repeat from * to last stitch, k1.
Row 3: sl1wyif, *c4f, c4b, k1, p1, k1, p1, k1, repeat from * to last stitch, k1.
Row 4: repeat row 2.
Repeat rows 1-4 nine [ten] times more or until body of hat reaches desired length with brim folded.
Crown section (decreases)
Crown row 1 (RS): sl1wyif, *k8, p2tog, k1, p2tog, repeat from * to last stitch, k1 — 90 [101] stitches.
Crown row 2 (WS): sl1wyif, *p1, k1, p9, repeat from * to last stitch, k1.
Crown row 3: sl1wyif, *c4f, c4b, cdd, repeat from * to last stitch, k1 — 74 [83] stitches.
Crown row 4: sl1wyif, *k1, p8, repeat from * to last stitch, k1.
Crown row 5: sl1wyif, *k2, k2tog, ssk, k3, repeat from * to last stitch, k1 — 58 [65] stitches.
Crown row 6: sl1wyif, *k1, p6, repeat from * to last stitch, k1.
Crown row 7: sl1wyif, *c3fdec, c3bdec, k1, repeat from * to last stitch, k1 — 42 [47] stitches.
Crown row 8: sl1wyif, *k1, p2tog, p2, repeat from * to last stitch, k1 — 34 [38] stitches.
Crown row 9: sl1wyif, k2tog to last stitch, k1 — 18 [20] stitches.
Crown row 10: sl1wyif, p2tog to last stitch, k1 — 10 [11] stitches.
Crown row 11: k2tog across row. If 1 stitch remains, k1 — 5 [6] stitches.
Cut a long tail, weave through remaining stitches and pull tight to close.
Finishing
Block your hat, seam it up, and weave in loose ends to finish.
Instructions for Knitting in the Round:
Brim
With smaller needles CO 96 [108] stitches and join in the round, taking care not to twist.
Ribbing round: *k1, p1, repeat from * to end of round.
Repeat the ribbing round until work measures 6 [7]cm from cast on edge.
Transition round: *(k1, p1)x6, m1, repeat from * to end of round — 104 [117] stitches.
Pattern section
Switch to larger needles.
Round 1: *k9, p1, k1, p1, k1, repeat from * to end of round.
Round 2: *k8, p1, k1, p1, k1, p1, repeat from * to end of round.
Round 3: *c4f, c4b, k1, p1, k1, p1, k1, repeat from * to end of round.
Round 4: repeat round 2.
Repeat rounds 1-4 nine [ten] times more or until body of hat reaches desired length with brim folded.
Crown section (decreases)
Don’t forget to switch to DPNs when the circulars get too tight!
Crown round 1: *k8, p2tog, k1, p2tog, repeat from * to end of round — 88 [99] stitches.
Crown round 2: *k9, p1, k1, repeat from * to end of round.
Crown round 3: *c4f, c4b, cdd, repeat from * to end of round — 72 [81] stitches.
Crown round 4: *k8, p1, repeat from * to end of round.
Crown round 5: *k2, k2tog, ssk, k3, repeat from * to end of round — 56 [63] stitches.
Crown round 6: *k6, p1, repeat from * to end of round.
Crown round 7: *c3fdec, c3bdec, k1, repeat from * to end of round — 40 [45] stitches.
Crown round 8: *k2, k2tog, p1, repeat from * to end of round — 32 [36] stitches.
Crown round 9: k2tog to end of round — 16 [18] stitches.
Crown round 10: k2tog to end of round — 8 [9] stitches.
Crown round 11: k2tog to end of round. If 1 stitch remains, k1 — 4 [5] stitches.
Cut a long tail, weave through remaining stitches and pull tight to close.
Finishing
Block your hat and weave in loose ends to finish.
Want FREE knitting patterns?
Subscribers get FREE access to newly-released patterns.